Stream Savvy: A Comprehensive Guide to Archiving Content from Twitch
In the rapidly evolving world of gaming and real-time broadcasting, Twitch has emerged as a leading platform where streamers can display their skills and engage with fans in real time. However, live broadcasts are temporary by nature, which can make it challenging for streamers to preserve their hard work for future viewing. This guide seeks to equip you with all the necessary resources and techniques to successfully archive your Twitch streams, ensuring that your streams, VODs, short videos, and highlights stay accessible well after the live broadcast ends.
Whether you are a seasoned broadcaster looking to expand your collection or a newcomer eager to learn how to record Twitch streams for the first time, this thorough resource will cover everything you need. From techniques for recording tailored to both Mac and PC users to examining the top tools for archiving clips and highlights, we will delve into various methods for capturing Twitch.tv content. With a emphasis on quality, systematization, and legal considerations, you will learn how to preserve your Twitch.tv history and maximize your streaming platform’s capability for growth. Let's begin this journey to master the craft of Twitch.tv content archiving together.
Recording Twitch Broadcasts
Capturing Twitch broadcasts is crucial for streamers who want to save their live streams for subsequent audiences. Get StreamRecorder of the most popular methods is to use specialized capture tools, that allows you to record both video and audio at optimal quality. Software such as Open Broadcaster Software and XSplit are frequently utilized due to their strong functionalities and versatility. These tools enable broadcasters to tailor their settings, making sure that the resolution and bitrate meet with their content goals.
For those recording on Apple computers, tools like ScreenFlow Studio and QuickTime can efficiently capture your gameplay. Windows users have a variety of choices such as Open Broadcaster Software or the built-in Windows Game Bar for fast captures. When setting up your recording, focus on setting up the audio inputs correctly to include both game sound and microphone input, boosting the overall experience for those watching afterwards. Proper sound and video quality will make a big impact in how enjoyable the recorded content is for fans.
Another crucial consideration of recording Twitch.tv streams is confirming your storage methods are sufficient to handle massive files. Based on the duration of your streams and the settings you choose you choose, recorded files can quickly occupy disk space. It's recommended to have a well-organized filing system in place for your captures and find a dependable long-term storage option. This arrangement not only aids in handling your videos but also makes it more convenient to edit and share clips or recorded streams later on.
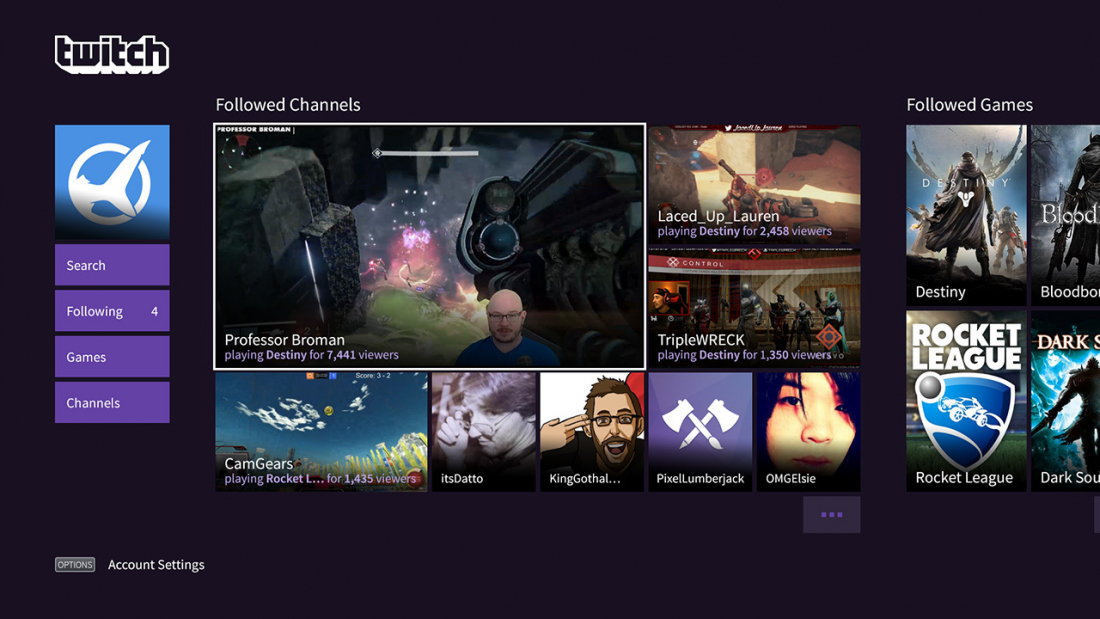
Downloading VODs and Clips
To download Twitch VODs and clips, you need to know the methods accessible for keeping this material efficiently. Twitch lets streamers to store their broadcasts as VODs for a limited time, usually 14 days for standard users and up to 60 days for Twitch Partners. To preserve StreamRecorder complete tool for the extended term, you can leverage external tools or built-in features. Tools like Twitch Leecher provide a user-friendly interface for obtaining VODs straight from the platform. Additionally, some streamers may opt to activate automatic archiving, which guarantees their content remains available for download.
For clips, Twitch has made the procedure easy. You can make clips from any live stream by navigating to the video player and pressing the clip button. To keep these clips, you can either download them one by one through the Twitch website or use specialized software that supports batch downloading. If you are looking for a way to efficiently download multiple clips at once, think about software that allows bulk downloads. This can help streamline the archiving process, preserving you both time and effort.
When downloading Twitch content, it’s important to think about the quality and format of the files. Ensuring high audio and video quality is essential, especially for those who intend to modify or repurpose the content later. Most recording tools will let you select the resolution and bitrate for the downloads, which is vital for maintaining a professional appearance in your archives. By making thoughtful decisions on the download methods and settings, you can create a neatly arranged collection of your Twitch VODs and clips, enhancing your content preservation efforts.
Storing and Arranging Content
When it comes to archiving Twitch content, order is key. Creating a clear system for titling and storing your streams, VODs, clips, and highlights will significantly simplify the process of organizing your archives. Utilize folders based on dates, occasions, or kinds of content to create an intuitive structure. This assists not only in quickly locating specific files but also in maintaining a comprehensive overview of what material you have available for subsequent use.
Using efficient storage solutions additionally enhances your archiving strategy. Consider cloud storage options for convenient access and sharing while ensuring that you have a local backup for further security. The decision of video format and compression settings can impact both the standard and the size of your archived content. Aim for a harmony between maintaining high audio and video quality and managing storage space well; this is crucial for long-term material preservation.
Jurisdictional considerations are also important when storing Twitch content. Familiarize yourself with fair use guidelines and copyright rules related to the content you download or capture. Though preserving your streams and highlights is beneficial for your brand growth, ensure that you respect the rights of other producers and adhere to Twitch’s community guidelines. By comprehending these legal aspects, you can assertively archive your content while cultivating a respectful and positive community.
Altering and Generating Revenue from Footage
After you've efficiently recorded and archived your Twitch footage, the following step is editing your material to enhance its quality and interaction potential. Employing video editing software, you can cut extraneous sections, include overlays, combine background music, and insert transitions. This not only makes your footage more engaging but also allows for creating highlights that can attract more viewers. Strive for high audio and video quality to preserve professionalism, and contemplate using tools that support multiple video format options, making sure compatibility across platforms.
Generating revenue from your refined recordings can significantly contribute to your revenue as a creator. You can upload your edited videos to platforms like YouTube or even create a Patreon for premium content. Consider leveraging sponsorships or product placements within your videos to increase earnings. Furthermore, establishing a brand around your Twitch content can draw in potential donors or subscribers, giving viewers incentive to support your content. Engaging your audience with invitations to act can also cultivate a loyal community that will contribute directly to your monetization efforts.
In the long run, keeping your content organized and quickly accessible will allow you to reap the benefits of your recordings effectively. Creating a structured archive management system can aid you manage your footage effectively, making it simple to find and reuse videos for future use. Utilize tools and strategies for material backup to ensure you never lose valuable recordings. By emphasizing high-quality productions and profitable monetization strategies, you can enhance your Twitch platform and pursue increased possibilities in content creation.
Legal Considerations and Best Practices
When archiving Twitch content, it is essential to understand the legal context surrounding the use of copyrighted material. Twitch streamers own the rights to their created material, but using external tracks or videos without permission can lead to copyright claims and likely takedown notices. Familiarize yourself with Twitch’s guidelines and adhere to fair use guidelines to ensure you are not infringing on the rights of others. Always consider securing proper permissions for any copyrighted material you intend to use in your captured streams or highlights.
Additionally, is the privacy of your viewers. When recording and saving Twitch streams, be mindful of the data provided by your audience. It is recommended to avoid capturing chats that may contain private details unless you have permission. Furthermore, make it clear to your viewers when you are recording, allowing them the option to opt out if they prefer not to be included in your saved content. Respecting privacy not only adheres to legal requirements but also cultivates a respectful community.
Finally, develop a strong archiving strategy that includes regular backups and organized storage of your Twitch content. Use premium recording settings to ensure the optimal audio and video quality, and choose universally compatible formats for long-term access. Implementing automated capturing systems and bulk download options can enhance your workflow and help maintain a consistent collection of content. By combining legal awareness with effective management practices, you can maximize the benefits of archiving while minimizing potential issues.