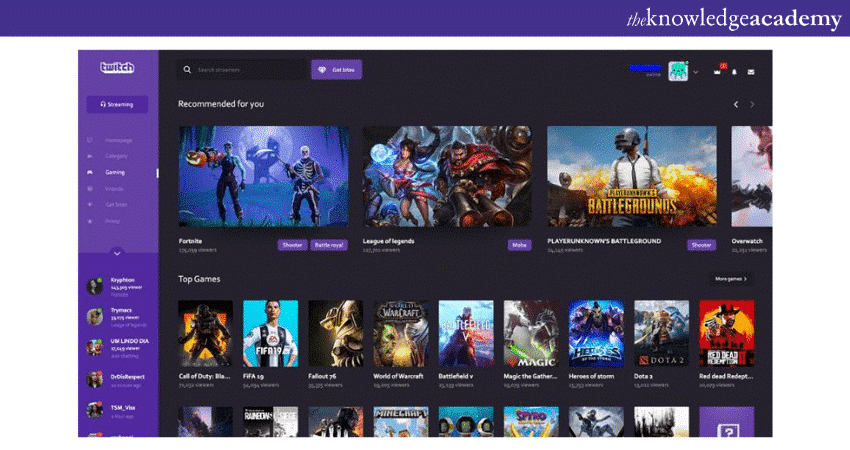
Maintain One's History: A Handbook to Archiving Twitch Streams and Segments
In today's digital age, live streaming has emerged as a popular form of content consumption, as platforms like Twitch at the forefront of the charge. As a content creator, maintaining your legacy on Twitch is not just about interacting with viewers in real-time; it's equally about maintaining access to your most memorable moments even after they have concluded. Whether you want to showcase your gaming highlights, offer tutorials, or simply keep a record of your streaming experience, knowing how to capture, download, and archive your Twitch streams and clips is essential.
Thanks to a range of tools and techniques available, users can capture high-quality videos and arrange their content efficiently. In this guide, we will explore the best strategies to archive your Twitch streams, VODs, clips, and highlights across multiple platforms and devices. Starting with beginner-friendly desktop recording software to sophisticated automated solutions, we will cover everything you need to learn to make certain your Twitch content remains accessible and well-preserved for years to come.
Methods for Recording Twitch Content
Regarding recording Twitch streams, one can find several effective methods to save content without compromising quality. A popular approach is employing dedicated software like OBS Studio or Streamlabs OBS, which are both widely used by streamers. These tools allow you to record streams in high quality while presenting customizable settings for resolution and bitrate, guaranteeing that your recorded video maintains the same professional appearance as the live broadcast. They also support complex streaming setups, that may be beneficial if you aim to add overlays or effects during the recording process.
For those desiring simplicity, you can find browser-based recording solutions that can record Twitch streams directly from your web browser. These tools typically require minimal setup and can make the recording process easy, especially for users who aren't comfortable with more advanced software. With just a few clicks, you can record content, making this option suitable for casual users or those who need a quick solution for archiving their streams or clips.
Lastly, mobile recording applications are available for both iOS and Android devices, allowing streamers to record Twitch content on the go. How to download Twitch clips offer a blend of convenience and portability, allowing users to record streams directly from their mobile devices. While this method might entail limitations in terms of audio and video quality compared to desktop software, it remains a viable option for those who prioritize ease of use and accessibility. By exploring these various methods, you can find the best way to save Twitch streams that fits your recording needs and preferences.
Retrieving and Storing VODs and Clips
To preserve your Twitch legacy, capturing and archiving your VODs and clips is essential. Twitch allows streamers to save VODs for up to two weeks for ordinary users and a maximum of two months for Twitch partners. To initiate capturing, navigate to the Video Producer section of your interface. Select the VOD you want to retain, tap on the options menu, and select “Save.” This process is straightforward and ensures that you retain your content for future reference or for distributing with your audience.
For clips, the procedure is also easy. Clips can be produced from your live streams and are saved for an indefinite period, but it’s advisable to download them to ensure they are maintained outside of Twitch. You can do this from the Clips Manager on your profile. Only locate the clip you want to download, tap on it, and use the send button where you'll find the option to save. Keeping these clips safely can help feature memorable moments and showcase your best content to new viewers.
When storing your VODs and clips, consider adopting a robust storage and structuring strategy. Use a trustworthy external hard drive or cloud storage solution to keep backups of your content. Given that video files can consume considerable space, ensure you optimize resolutions and bitrates appropriately to keep quality while maximizing storage use. By maintaining a well-organized approach to archiving, you can easily retrieve your content for revising, reusing, or even earning in the future, improving your overall channel growth strategy.
Best Methods for Optimal Recording
To guarantee your Twitch recordings are of the highest quality, it's essential to select the correct settings before you start recording content. Modify the resolution and bitrate based on your internet speed and the requirements of your recording device. Aiming for no less than 1080p resolution with a bitrate of 4500 kbps will provide a fluid viewing experience. Additionally, confirm that your audio settings are set to record clear sound, as audio quality has a key role in viewer engagement.
Investing a professional recording setup can significantly enhance your Twitch streaming preservation efforts. Consider using focused desktop recording software that offers sophisticated features such as personalizable overlays and scene transitions. This software often enables for enhanced control over the recording process, letting you to handle multiple inputs and outputs seamlessly. Always check your recordings in real-time to catch any potential issues about audio and video synchronization.
Finally, maintaining proper storage and systematization of your recorded streams is crucial for sustained accessibility. Implement a well-defined file naming system that aligns with your content strategy, making it simple to locate specific streams or highlights later on. Consistently back up your recordings to both local and cloud storage solutions, protecting against data loss. Following these guidelines will not only protect your legacy but also aid in effective content management for future use.
Legal Aspects and Equitable Use
When archiving Twitch streams and clips, it's essential to understand the legal landscape related to content production, transmitting, and dissemination. Twitch's service conditions grant streamers particular rights over the content they generate, but there are boundaries. Streamers should ensure that they control the rights to the material they capture and store, particularly when it comes to music, content from other producers, and any external content. Always get the necessary permissions if you aim to use copyrighted material in your archives.
The concept of fair use plays a major role when it comes to remixing Twitch content. Fair use allows for specific use of copyrighted material without requesting permission from the rights holders, but the rules can be nuanced. Factors that affect fair use consist of the reason of the use, the amount of material used, the type of the original work, and the effect of the use on the value for the original. Streamers and content creators should be cautious that depending solely on fair use can be risky, and it’s wise to err on the side of caution when determining what to add in saved content.
Lastly, it is essential for streamers to stay informed about the evolving landscape of digital rights and intellectual property laws. Interacting with legal resources or seeking advice can help mitigate risks associated with keeping and sharing streams. Additionally, comprehending your audience's needs and the consequences of releasing this content can add to responsible archiving practices. Properly managing legal considerations not only safeguards your legacy but also reinforces the integrity of the Twitch community.
Editing and Organizing Your Library
Once you have recorded and downloaded your Twitch broadcasts and highlights, the following step is to edit and systematize your archive for simple access and optimal viewing. Use video editing software to cut unnecessary sections, enhance audio quality, and add overlays or captions to your videos. High quality Twitch video capture means focused refinement, so make sure your edits not only preserve the integrity of the initial stream but also improve it for the audience. This can greatly enhance viewer engagement and give your collection a professional touch.
After refinement, structuring your collections becomes important for effective management. Create folders based on the type of material, such as VODs, snippets, and highlights, and categorize them by time or game to ease retrieval. Apply consistent naming strategies that include the date and name, making it simple to find through your collection. Additionally, think about implementing a categorization system to quickly recognize high-performing materials or subjects that resonate with your audience. This organized approach will make it easier for you to access your content for subsequent purposes.
Lastly, think about sustainable options for your archive. Cloud services can provide automatic backups and secure access from multiple devices, but also consider external hard drives for local storage. When exporting Twitch VODs or highlights, choose the suitable video format to ensure interoperability with multiple platforms. Consistently review and refresh your organization methods to incorporate new content, keeping your legacy preserved and readily accessible for monetization or channel growth strategies.